

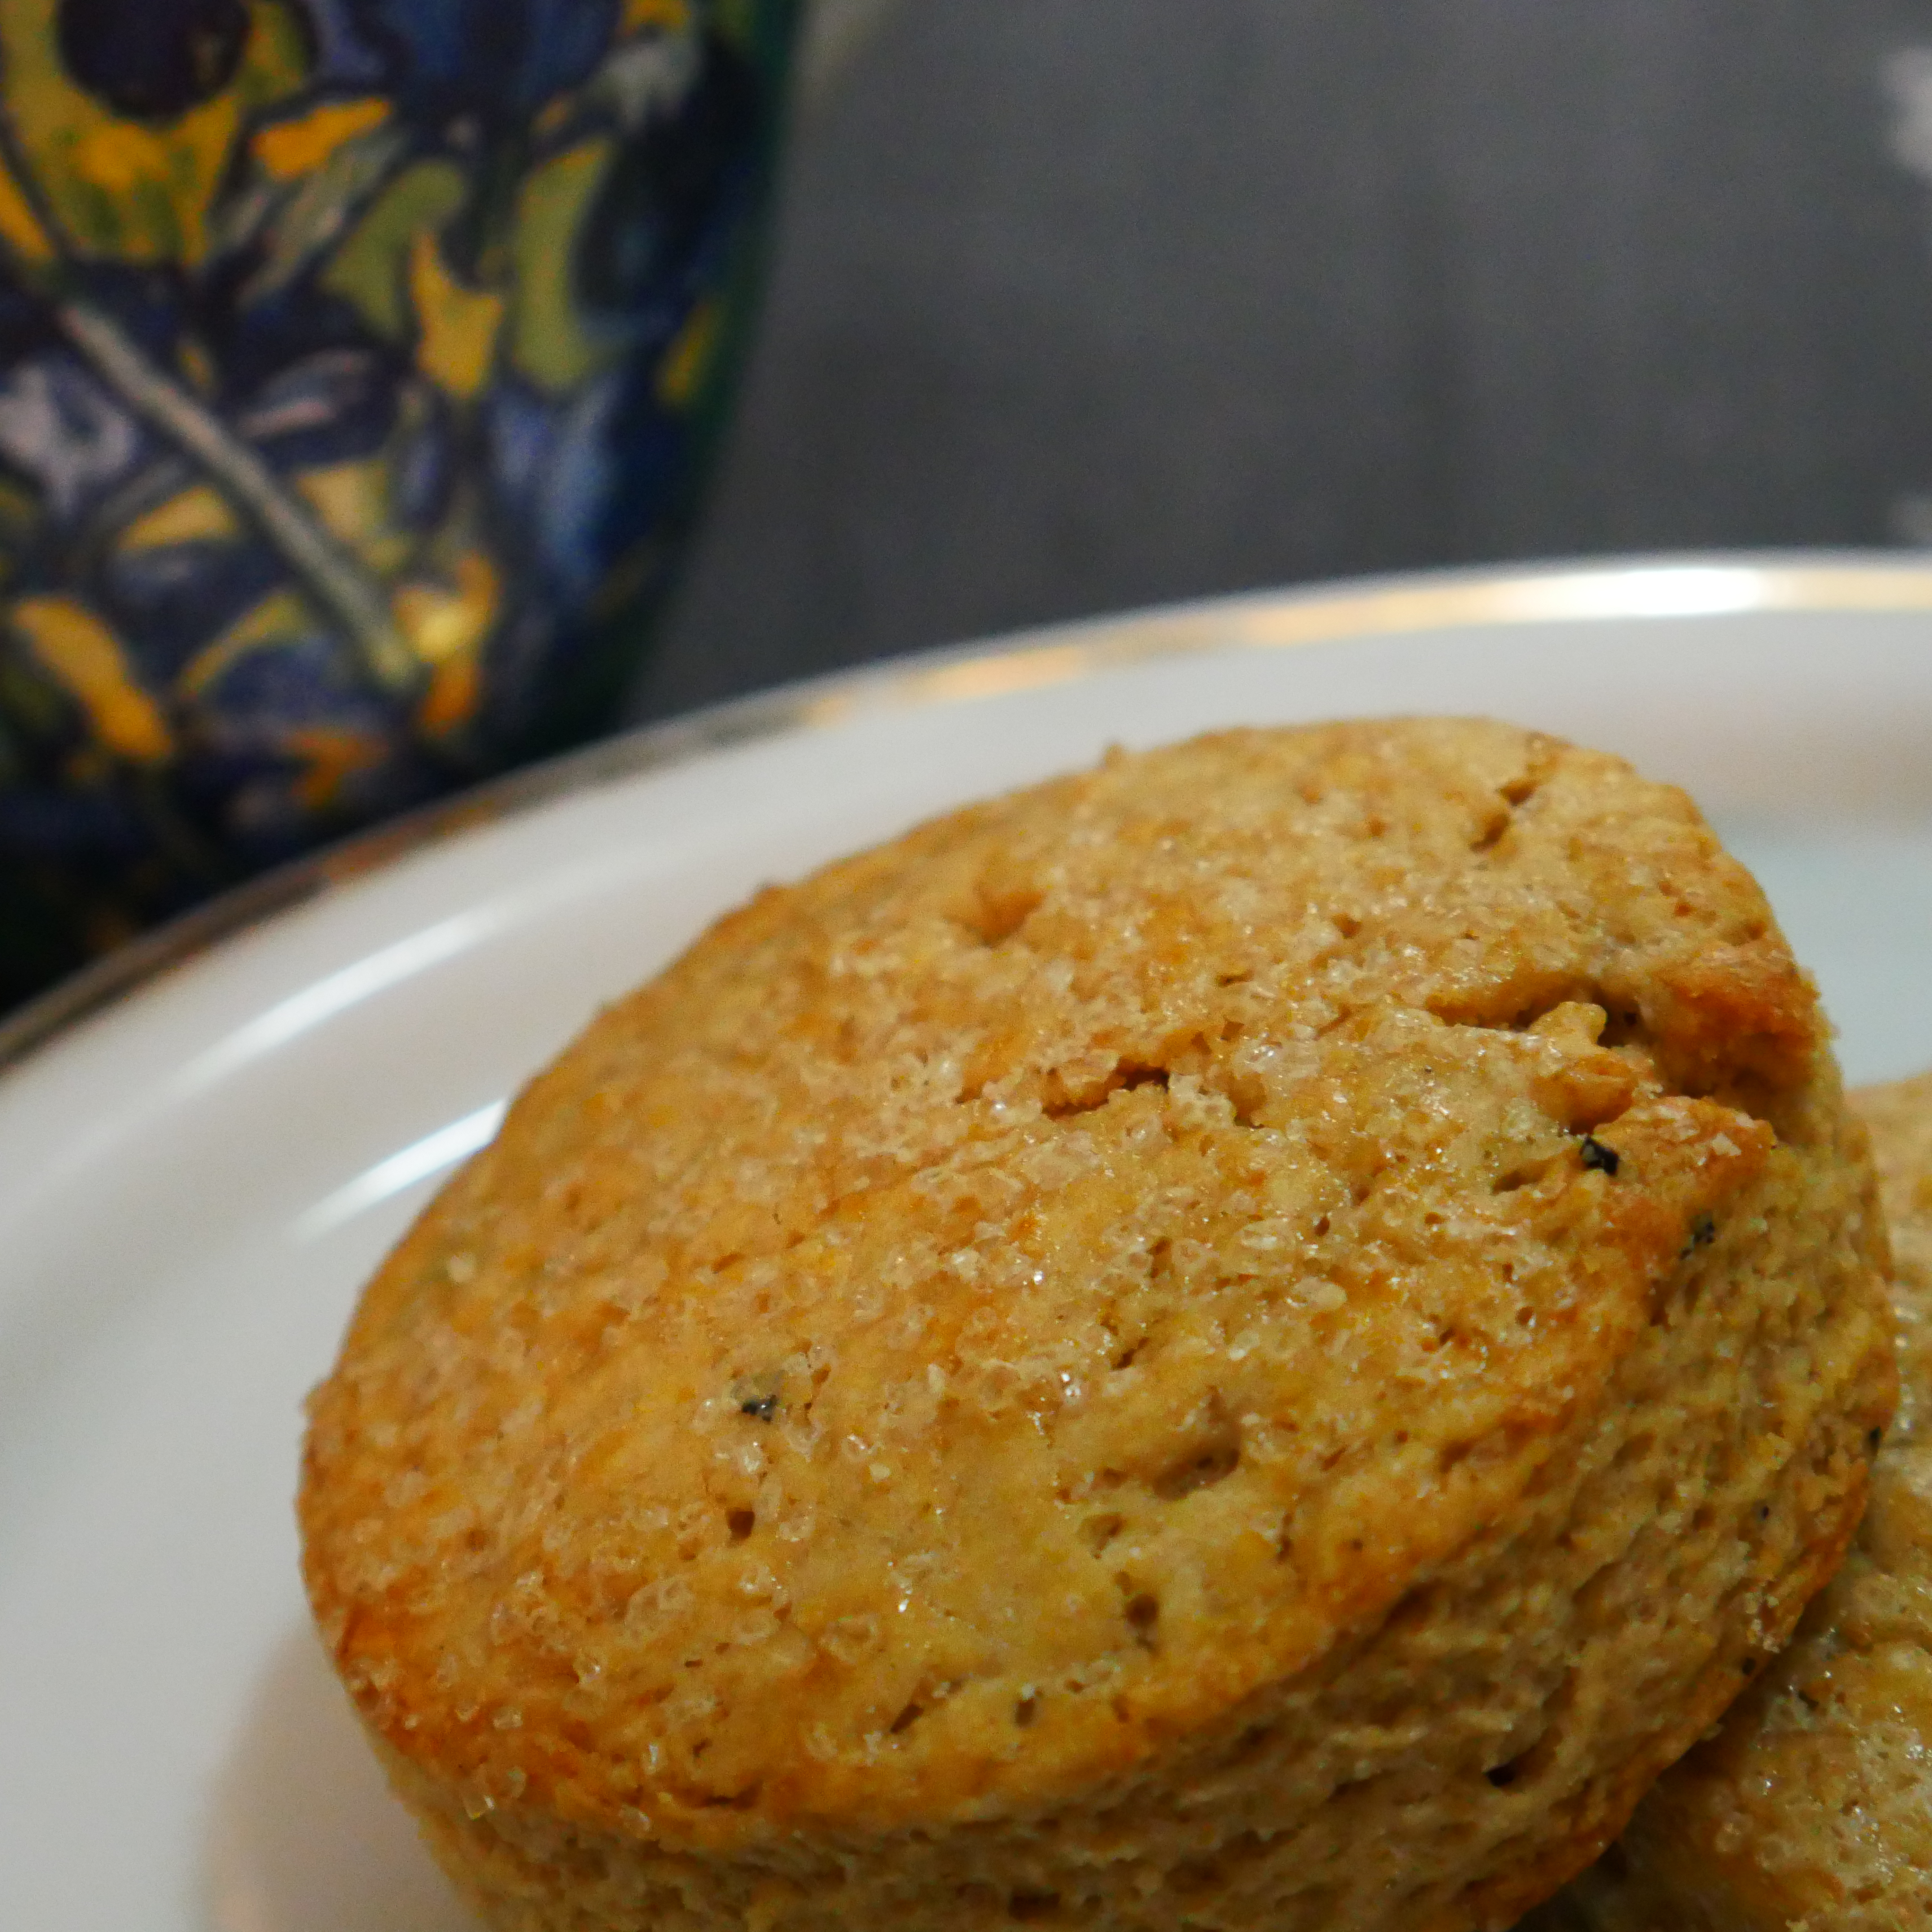
I plan on exploring scones in this blog. Scones are one of my favorite treats, and they can come in all kinds of shapes, flavors, and textures. I very much like the taste of earl grey tea, and I wanted to see if I could make a good recipe with an earl grey flavor – you’ll see my inspiration for that below. Also, this is the first time I’ve made scones!
In developing this recipe, I discovered a few things:
- Butter did not seem right for this flavor profile (I intuitively figured this out). So I googled and googled.
- Earl grey can be very strong as a tea or in cold products, but it can be very subtle in things that are baked.
- Cream scones (that is, scones that are made only with cream and no butter) actually do exist. As an American, I’m very much used to buttery scones, so that was new for me.
These scones are short, squat, and round like hockey pucks. They are dense but very tender on the inside, thanks to the cream. The earl grey flavor is delicate, and they have just enough sweetness. Finally, you may find that these earl grey cream scones taste the best slightly chilled. I find this to be true for other delicate flavors like natural vanilla and even powerful flavors like chocolate – chilling really brings the flavor out (kind of like marinating a meat???). For example, I prefer to eat chocolate cake COLD. Way more flavorful. Try it!
Tools and Other Notes
- Heavy cream. You will need full fat heavy cream for this recipe.
- Infusing the cream. There is an extra step of infusing the cream with early grey tea leaves. I learned this technique watching Hanbit Cho a while ago when I made a vanilla cheesecake with earl grey whipped cream frosting for a friend’s birthday.
- Use good quality tea. Ideally, use good quality everything, but using quality tea will get you the strongest early grey flavor.
- Cookie cutter. I used a cookie cutter of approximately 2.5 inches in diameter to cut the dough into circles. This is the one I used. You can use whatever equivalent you have at home.
- A stand mixer is used in this recipe.
- Chill, chill chill. Lots of chilling and waiting in this one. Mostly because for scones, you want to work with a cold dough that will rise up, rather than melting and spreading out in the oven.
- Storage. Keep these scones tightly stored in the fridge for a few days. You can freeze them after baking. You can make the dough ahead of time and freeze the dough circles. When you are ready to bake them, take them out of the freezer and let them soften a bit before baking.
Ready, Set, Bake!

Earl Grey Cream Scones
Prep Time: 2 hours
Cook Time: 18 – 20 minutes per batch
Yield: About 14 scones
Ingredients
- 400g flour
- 100g sugar
- 3 tsp baking powder
- 1/2 tsp salt
- 300g cold heavy cream, plus more for steeping process and “egg” washing
- 10g earl grey tea leaves
- 2 tsp vanilla extract
- (Optional) Coarse/sparkling sugar for topping
Instructions
- Preheat oven to 400° F. Prepare baking sheet(s) by lining with parchment paper and set aside.
- In a large bowl, pour in the flour, sugar, baking powder, and salt and whisk until blended. Set aside.
- Infuse the heavy cream with the earl grey tea. Take 300g of heavy cream and the 10g of tea leaves and put them in a saucepan. Bring to boil and then turn off the heat. Steep for 5 minutes.
- When steeping is completed, strain the tea leaves out.
- Weigh the heavy cream. You will see that you have less cream due to evaporation during the steeping process. Add fresh heavy cream until the weight of the cream reaches 300g once again.
- Put the infused cream in the fridge for at least 1 hour to chill.
- Once cream has chilled, add the vanilla extract, and stir till well blended.
- Little by little, add the cream mixture to the dry ingredients, mixing with a spoon or spatula until the dough just comes together. Use your hands to pat the dough into a ball.
- Take the dough ball and roll it until out until it is about 3/4 of an inch thick.
- Using a cookie cutter, cut the dough into round shapes without twisting (use a straight up-and-down cutting motion). Gently pat the dough back together before re-rolling.
- Place the dough rounds onto the baking sheet. Chill in the freezer for 15 minutes.
- Once chilled, brush the tops of the dough with heavy cream and (optional) top with coarse/sparkling sugar.
- Bake at °400 F for 18 – 20 minutes, until the edges/bottoms are golden brown and toothpick inserted in the center comes out clean.
- Let cool, and serve slightly chilled.
Enjoyed this recipe?
Give it some applause, leave a comment and share!
Share this recipe:
Leave a Reply